Plastic Sheet Butt Welding Process: Setup, 5-Stage Welding Cycle & Inspection Guide
- Share
- Issue Time
- Aug 14,2026
Summary
Plastic sheet butt welding process explained: machine setup, the 5-stage welding cycle (alignment, heating-up, changeover, joining, cooling), the DVS standard per material, visual inspection and common faults.
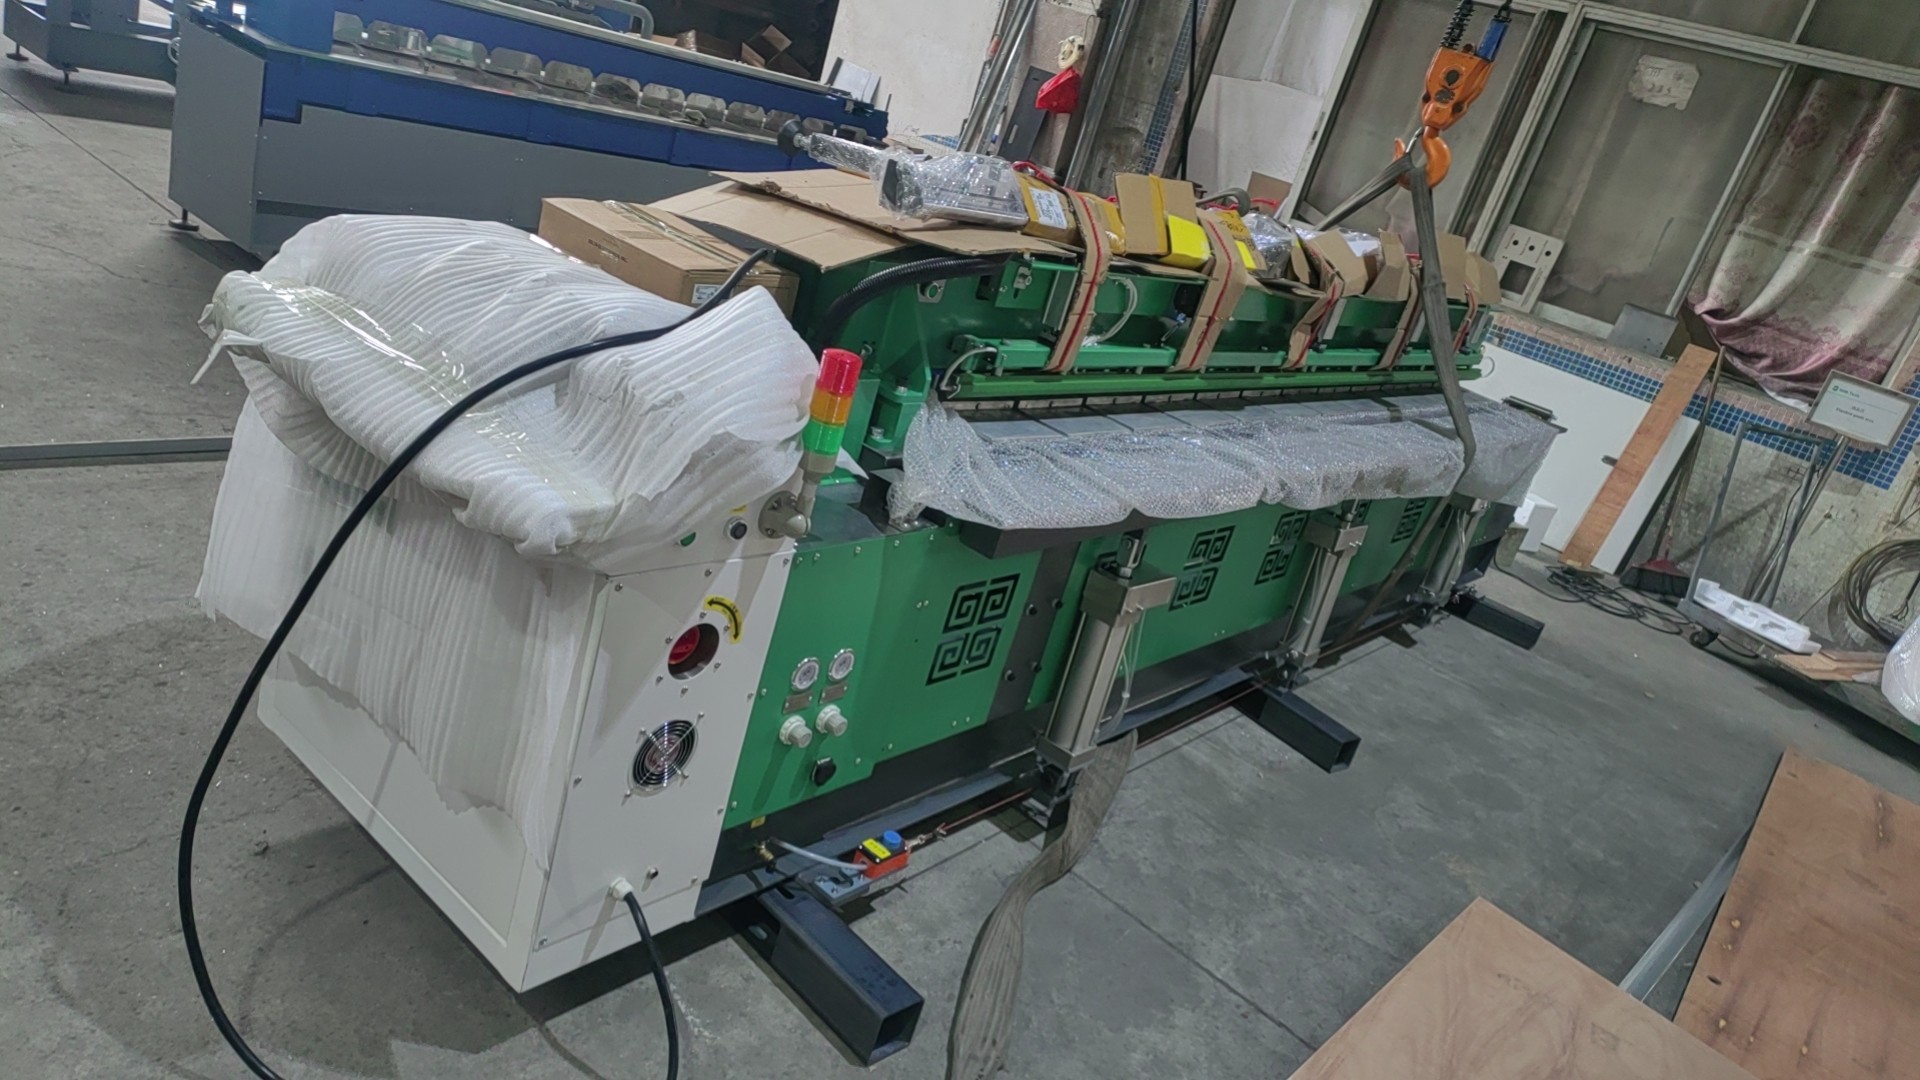
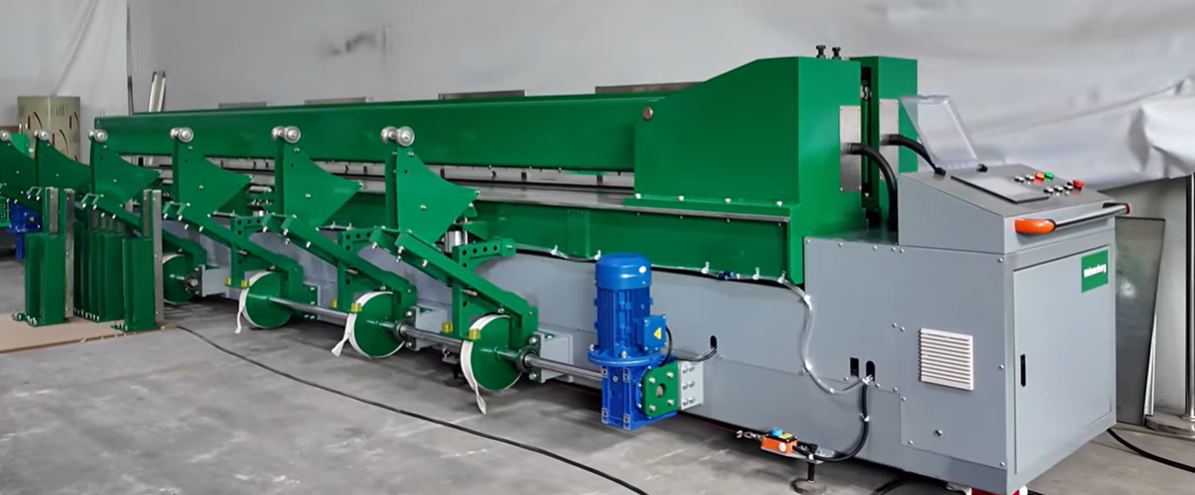
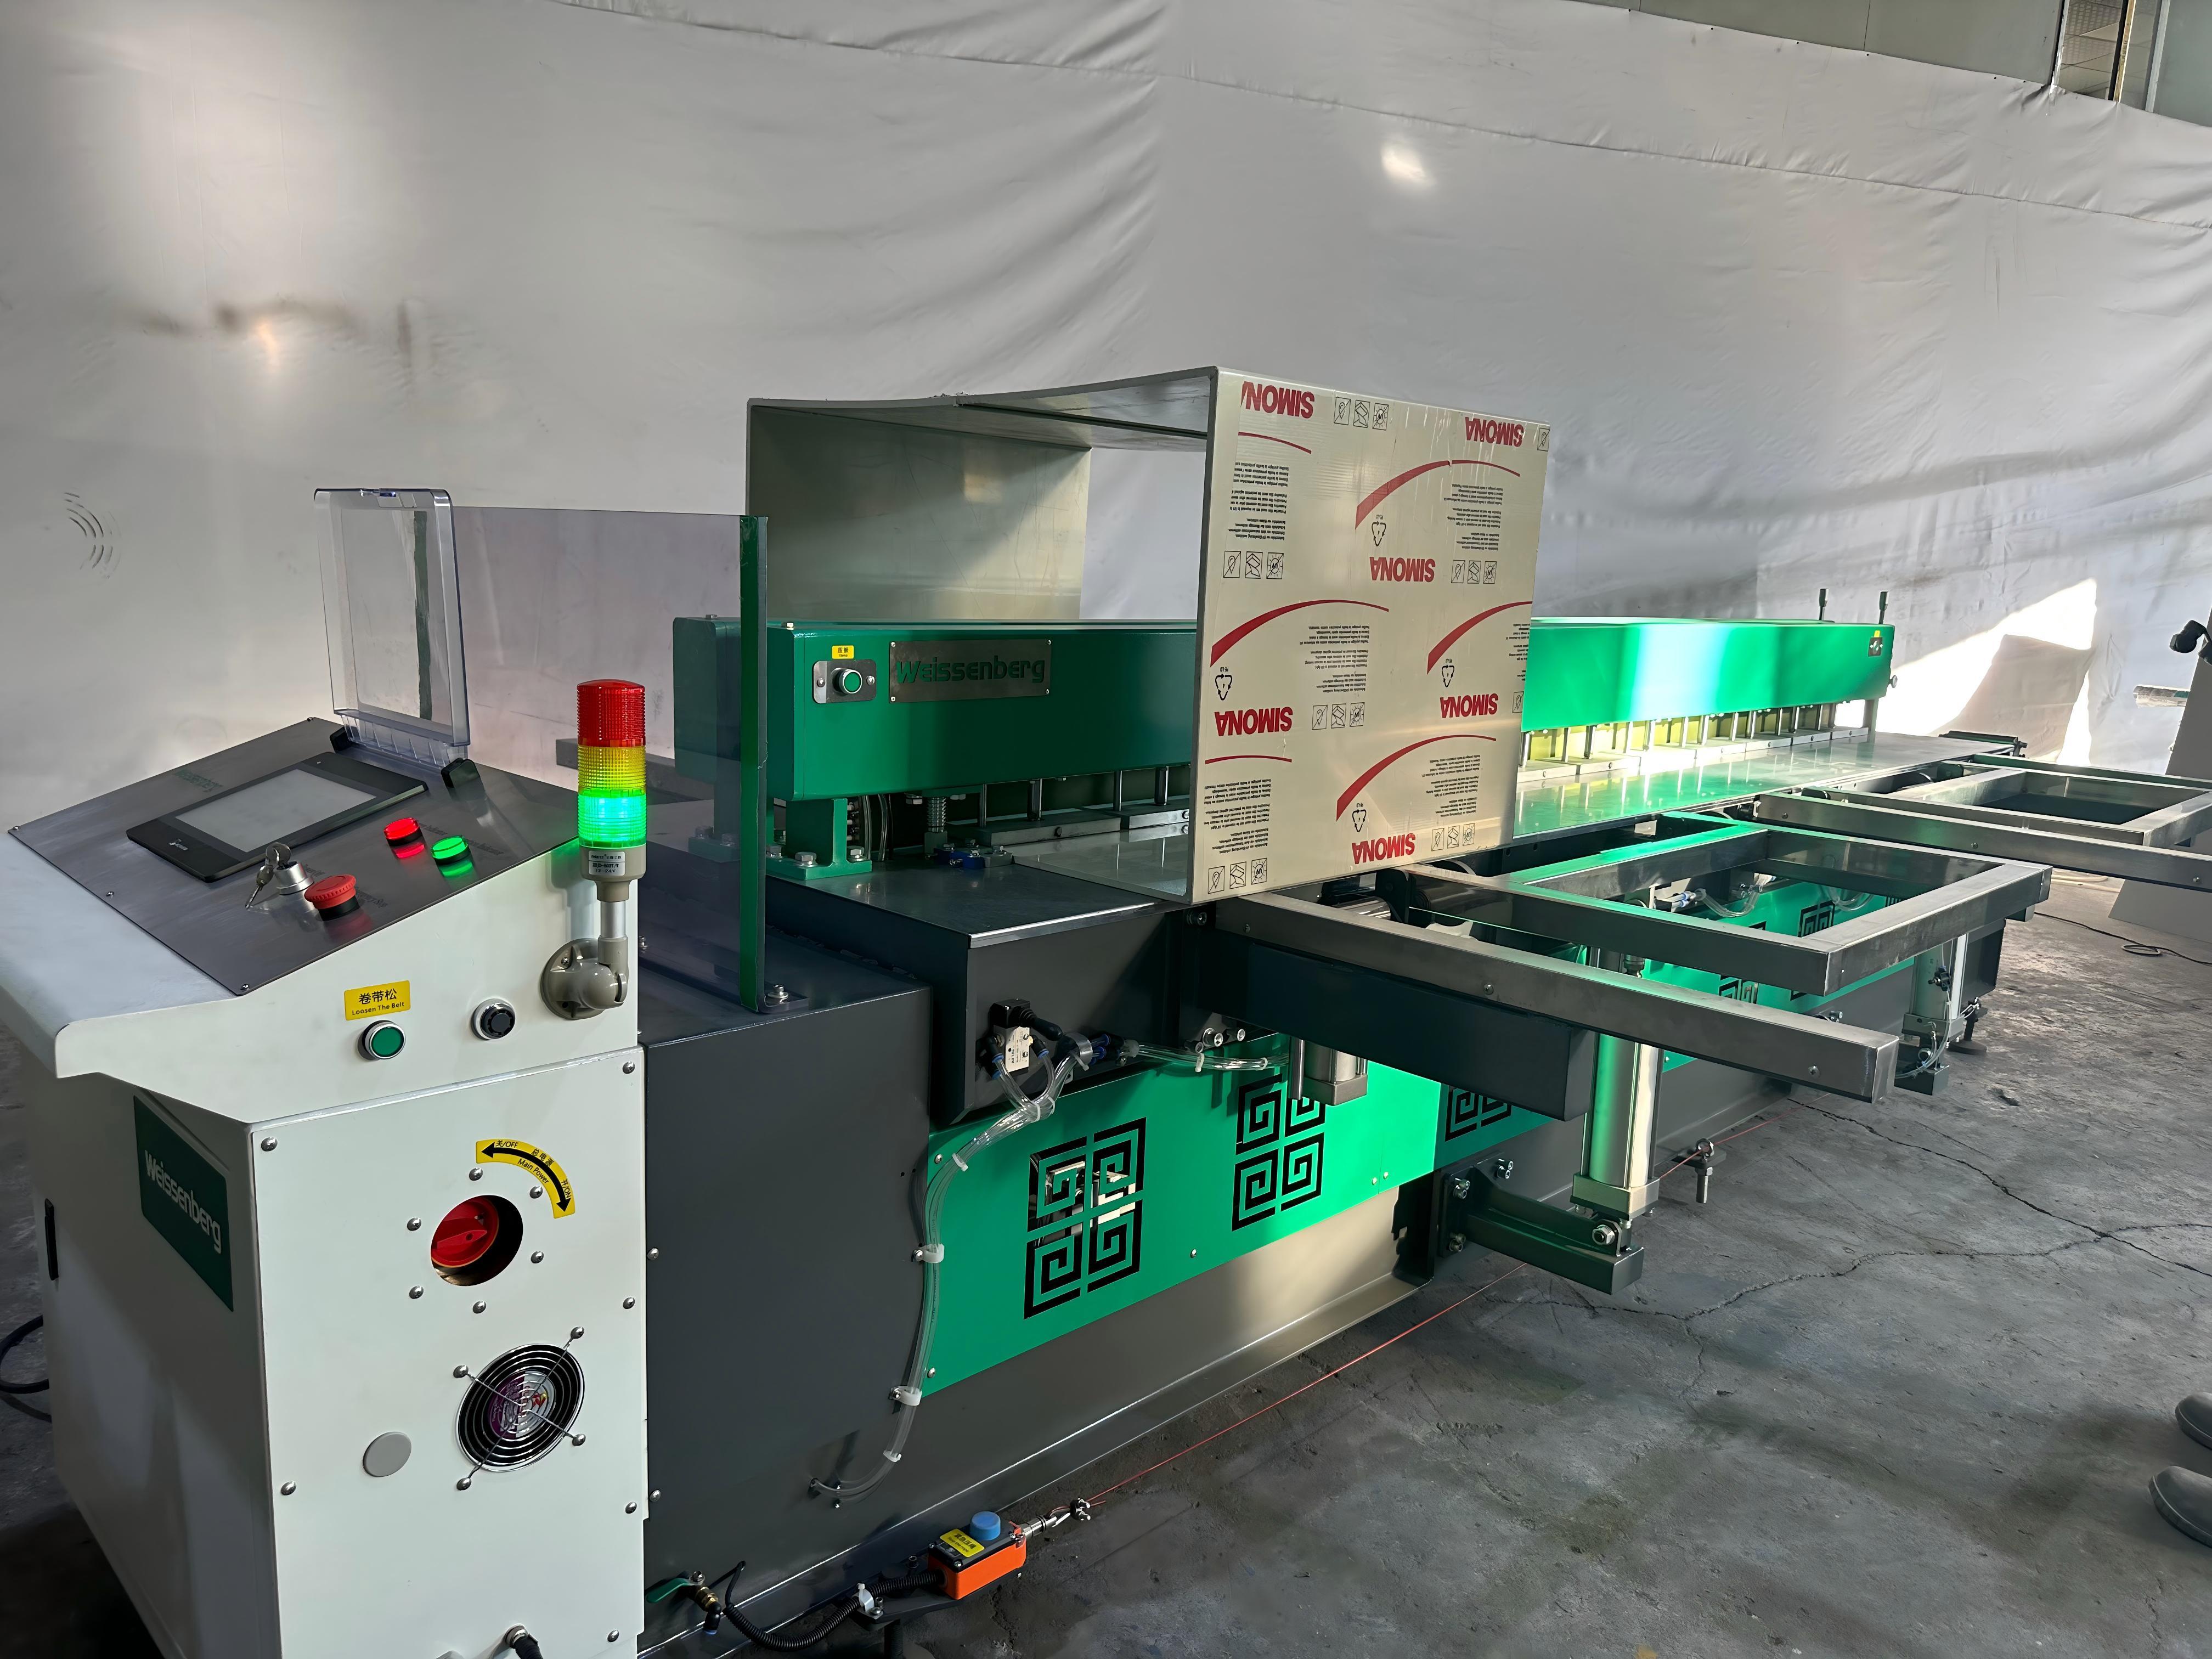
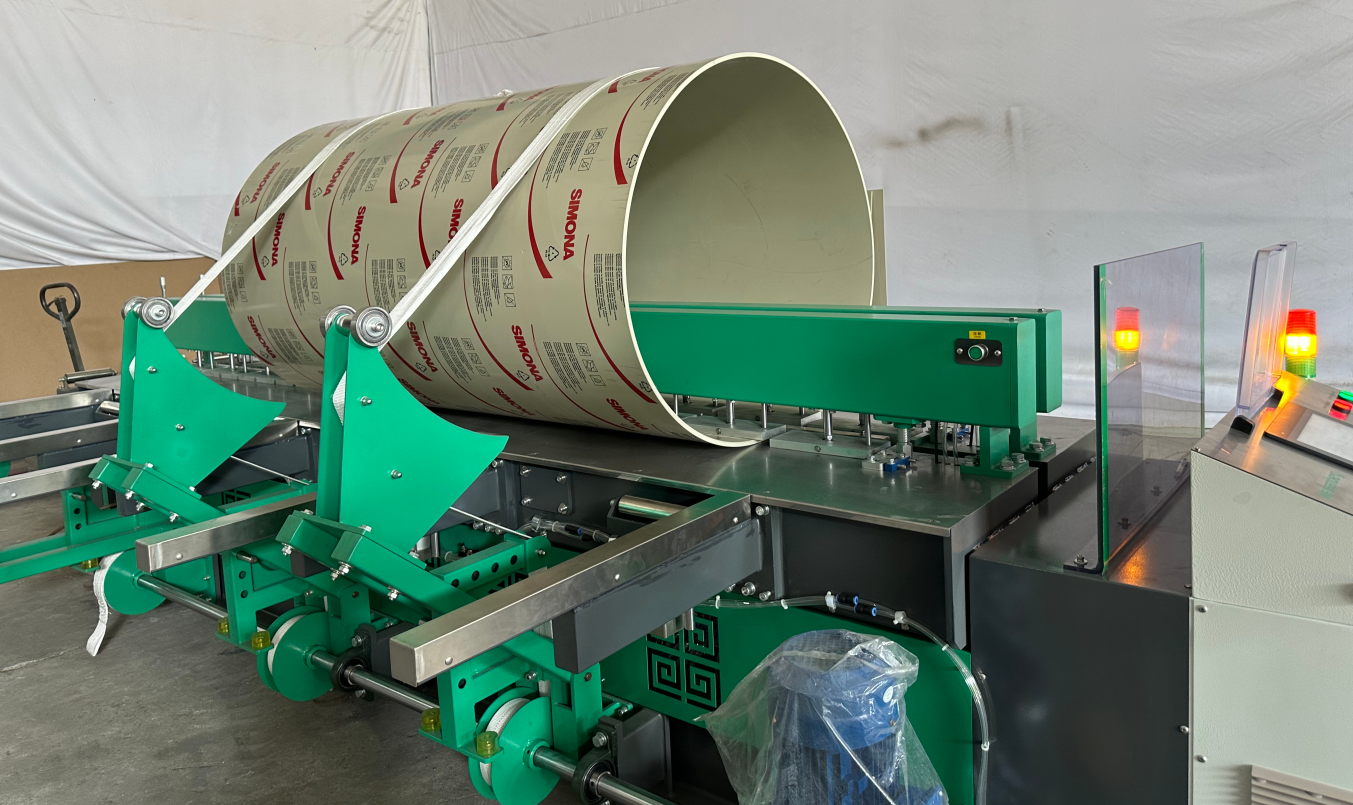
Plastic sheet butt welding is a five-stage heated-tool process: alignment (clamp the sheets and form the alignment bead), heating-up (soak the joint faces against the heated plate under light contact pressure), changeover (remove the plate quickly), joining (press the faces together under joining pressure to form the double bead), and cooling (hold under pressure until the joint is solid). The parameters that decide weld quality — plate temperature, the three pressure stages, heating-up time, changeover time, and cooling time — are defined per material in the applicable DVS 2207 part: DVS 2207-1 for PE-HD, DVS 2207-11 for PP, DVS 2207-12 for PVC-U, DVS 2207-13 for PVC-C, and DVS 2207-15 for PVDF. A CNC-controlled machine such as the Weissenberg WeiBond series executes this cycle consistently: plate temperature held within about ±5 °C, automatic pressure profile, and per-weld parameter records for quality documentation. Heated-tool butt welding is a fusion process for thermoplastic sheets: the two joint faces are pressed against a heated plate until a thin melt layer forms, the plate is removed, and the faces are pressed together so the melt layers fuse into one continuous joint. No filler material is added — the weld is formed from the parent material. Run within the parameters of the applicable DVS 2207 procedure, the weld can achieve performance close to that of the parent material when properly executed and qualified — which is why the process is the standard method for joining panels into chemical tanks, scrubbers, plating tanks, and water-treatment equipment. This guide walks through the process in the order a fabricator meets it: machine setup, the five-stage welding cycle, the DVS standard that applies to each material, visual inspection, and the three faults behind most rejects. It focuses on machine butt welding of panels and sheets — the core application of Weissenberg's plastic sheet welder range. Setup errors carry straight into the weld: a panel clamped out of position produces a step at the joint, a dirty heating plate contaminates every joint it touches, and wrong parameter input repeats the same fault for the whole batch. Work through these steps in order before the first weld of the day. Every heated-tool butt weld passes through the same five stages. The names below are the standard terms used in the DVS 2207 procedure parts. The machine sequences the cycle; the operator sets each stage's parameters correctly and watches that the cycle runs within its limits. Exact pressure and time values are material-specific and are covered in Section 3 and in the dedicated DVS procedure for each material. One detail is worth knowing: heating-up pressure must stay very low, because higher pressure during heating squeezes out the melt layer needed for fusion in the joining stage. DVS 2207 is a series of procedure parts; each material is covered by its own part. The table maps material to standard, with the headline parameter for each. Exact values depend on material grade, sheet thickness, and machine configuration — confirm them against the standard and the material supplier, and validate any deviation through welding qualification. Pressure values are specific pressure in N/mm² — the correct process parameter. Machine gauge pressure in bar depends on cylinder area and must be converted per the manufacturer's data (the WeiBond 4000, for example, is specified for PE at 0.15 N/mm² and PP/PVDF at 0.10 N/mm² over a 3–40 mm range). The thickness-based time tables — heating-up, changeover, pressure build-up, and cooling — live inside each standard part. Certain DVS procedures may also contain material- and application-specific cooling allowances — for example, the PP panel procedure discussed in our dedicated DVS 2207-11 guide includes a conditional workshop cooling provision. For the full PP panel table and procedure, see our PP panel welding guide per DVS 2207-11; for a material-by-material walkthrough of HDPE, PP, and PVDF, see How to Weld HDPE, PP & PVDF Sheets. The daily quality gate is visual inspection — it catches most faults in seconds, before a joint moves on to assembly. Visual examination should be evaluated within the framework of DVS 2202 Supplement 1 (02/2023), which covers the evaluation of heated-plate-welded thermoplastic piping parts and panels. Inspect every weld and record what you see. The double bead is the visible proof that the two faces melted and fused: if the bead is missing on one side, that side did not reach fusion temperature or the panels were not parallel. When a project requires documented quality, visual inspection is backed by macro-section examination and mechanical testing. When mechanical testing is required, tensile or section-test results should be evaluated against the acceptance criteria of the applicable DVS 2202 supplement and the project specification. Most rejected welds trace back to three root causes. Each has a characteristic symptom and a direct fix. For a fuller treatment of these and related faults — including bead asymmetry, voids, and contamination — with corrective actions, see Common Plastic Sheet Welding Defects and How to Fix Them. On a manual welder, the operator watches the temperature, shifts pressure stages by hand, and times the changeover — exactly where quality drifts. CNC control moves the cycle into a programmed sequence. The practical differences cluster around four points: The operator interface is built around this: icons and step-by-step guidance on one page, which reduces the operator training burden, and the operator selects material and sheet thickness while the controller applies the matching parameters. The WeiBond range covers working widths from 1,500 mm to 7,000 mm — from the WeiBond 1500 (3–15 mm sheets) to the WeiBond 7000 (sheets up to 7 m wide, DVS-oriented control, CE certified). For a full comparison of what automation buys a fabrication shop, see CNC Plastic Sheet Welder vs Manual Welder: Is Automation Worth the Investment? Traceability is the difference between a weld a fabricator believes is good and a weld that can be shown to be good. The DVS 2207-11 edition referenced in our detailed PP welding guide requires welding process data to be recorded for each production weld; more broadly, project specifications, customer QA plans, or quality audits may require documented welding parameters and inspection records. Because the PLC controls the whole cycle, a CNC welder records the parameters of every joint as it runs — material, thickness, plate temperature, pressure stages, and the timing stages — and these records are compiled into the welding reports that project specifications and quality audits require. For the full picture of how standard-conform, documented welding is specified and checked, see our DVS 2207 compliance guide and quality checklist. The standard cycle is: alignment (clamp and align, form the alignment bead), heating-up (soak the faces against the heated plate under light contact pressure), changeover (remove the plate quickly), joining (build up joining pressure to fuse the melt layers into the double bead), and cooling (hold under pressure until solid). These are the terms used in the DVS 2207 procedure parts. For PE-HD panels, DVS 2207-1 uses a heating-plate temperature of about 200–220 °C with a joining pressure of about 0.15 N/mm². Confirm the exact values for your material grade and thickness against the standard and your material supplier. Once the plate is removed, the molten surface starts to cool immediately. Changeover time is material- and thickness-dependent and must follow the applicable DVS parameter table — in all cases, keep changeover as short as the specified procedure allows. If it is exceeded, the surface can drop below fusion temperature and produce a cold weld — a joint that looks fused but separates under load. This is why machine-controlled changeover is a key quality feature. DVS 2207-12 covers PVC-U and DVS 2207-13 covers PVC-C. In fabrication practice, PVC-U panels are often joined by solvent cementing or hot-gas or extrusion welding with filler rod, but where heated-tool butt welding is used, the applicable part is DVS 2207-12 (PVC-U) or DVS 2207-13 (PVC-C) — follow its parameters for the specific grade. No — DVS compliance is about process parameters and documentation, not a machine class. A well-run manual machine can produce conforming welds if plate temperature, the pressure stages, and the timing stages are controlled and recorded. In practice, CNC/PLC control makes it far easier to hold about ±5 °C temperature and consistent timing, which is why automated control is attractive for repeatable production and documented QA — but the standard itself does not require it. Record the welding parameters for every joint: material, thickness, plate temperature, pressure stages, heating-up time, changeover time, and cooling time, plus the inspection result. On a CNC welder these records are generated automatically per weld and compiled into welding reports. Attach them to the batch documentation and keep them for the project's retention period. Need a second opinion on your welding parameters or machine selection? Talk to a Weissenberg engineer — the answer is specific to your material and sheet sizes.Quick Answer
What Is Heated-Tool Butt Welding?
Definition: Heated-Tool Butt Welding
1. Machine Setup Before Welding
Pre-Weld Setup Checklist
2. The 5-Stage Butt Welding Cycle
Stage
What Happens
Parameter That Matters
Typical Fault If Wrong
1. Alignment
The sheets are clamped and pressed together under alignment pressure until a small bead forms along the full joint line, confirming even contact.
Alignment pressure according to the applicable material-specific DVS procedure; gap and misalignment limits
Uneven bead, step at the joint
2. Heating-up
The heated plate is inserted between the faces; pressure drops to heating-up pressure (light contact only) and the faces soak against the plate for the heating-up time.
Plate temperature; heating-up pressure: low contact pressure according to the applicable material-specific DVS procedure; heating-up time by thickness
Incomplete fusion if too short; melt squeezed out if pressure too high
3. Changeover
The plate is removed and the two faces are brought together — as quickly as the machine allows.
Changeover time — material- and thickness-dependent, per the applicable DVS parameter table; keep as short as the procedure allows
Cold weld — the melt surface cools below fusion temperature
4. Joining
Joining pressure is built up within the pressure build-up time; the two melt layers fuse and a uniform double bead forms on both sides.
Joining pressure according to the applicable material-specific DVS procedure; pressure build-up time
Weak joint, voids, or incomplete bead
5. Cooling
The joint is held under joining pressure until the weld zone has cooled and stiffened.
Cooling time under pressure (by material and thickness)
Deformation or spring-back if clamps are released early
3. Which DVS Standard Applies to Each Material?
Material
DVS Standard
Headline Parameters
HDPE (PE-HD)
DVS 2207-1
Plate 200–220 °C; joining pressure about 0.15 N/mm²
PP (polypropylene)
DVS 2207-11
Plate 210 ± 10 °C; joining pressure 0.10 ± 0.01 N/mm²
PVC-U
DVS 2207-12
Follow the part's parameters for the PVC-U grade being welded
PVC-C
DVS 2207-13
Follow the part's parameters for the PVC-C grade being welded
PVDF (polyvinylidene fluoride)
DVS 2207-15
Plate 230–260 °C; joining pressure about 0.10 N/mm²
4. How to Inspect a Butt Weld
Visual Inspection Checklist
5. Three Common Process Faults
Fault
Symptom
Typical Cause
Fix
Misalignment
Step or height mismatch across the joint; reduced load-bearing section
Panels not clamped level; heating plate out of alignment; gap beyond tolerance
Re-clamp and re-align; keep misalignment within 0.1 × panel thickness
Inadequate fusion
No double bead, or a thin bead; cold weld that separates under load
Changeover exceeded the maximum time; heating-up time too short; plate temperature too low
Keep changeover within the limit; confirm heating-up time for the thickness; verify plate temperature with a surface probe
Overheating
Discoloration (yellowing or browning), bubbles or voids, excessive melt expulsion
Plate temperature too high; heating-up pressure too high (melt squeezed out); heating time too long
Reduce temperature to the material window; keep heating-up pressure at light contact; shorten the soak
6. What CNC Automation Changes
7. Welding Records & Traceability
8. FAQ
What are the five stages of the plastic sheet butt welding cycle?
What temperature do I use to butt-weld HDPE sheets?
Why is changeover time so important in butt welding?
Which DVS standard applies to PVC panels?
Do I need a CNC welder to meet DVS 2207 requirements?
How do I document my welds for quality audits?
Key Takeaways
References and Further Reading